
How can we help?
Video walkthroughs and step-by-step guides for building, growing, and integrating your website.

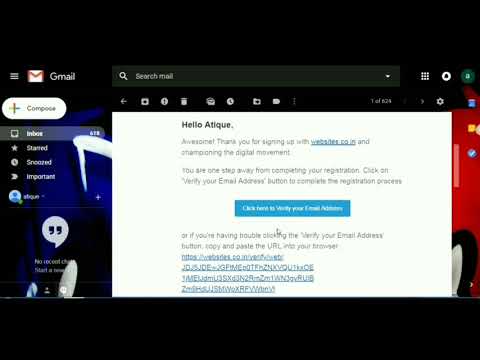
How to register with email or phone
Create your Websites.co.in account in minutes.
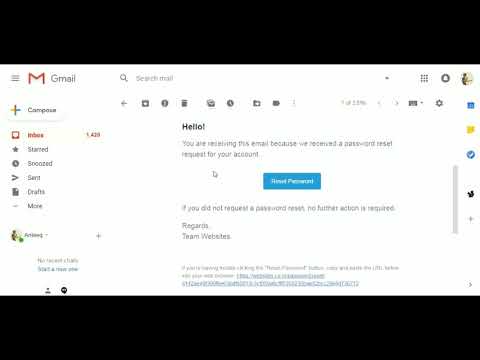
How to reset your password
Recover access to your account securely.
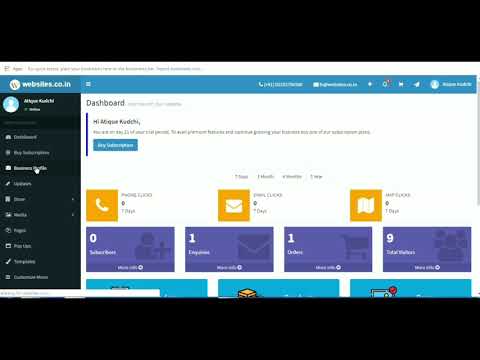
How to update your logo
Upload and apply your brand logo.
How to choose a theme
Pick a look that fits your business.
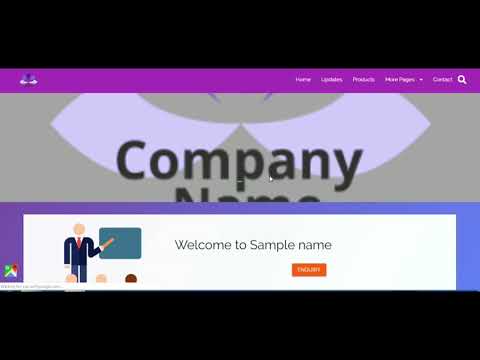
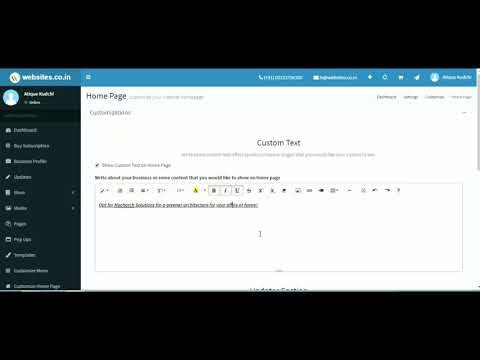
How to customize your home page
Edit homepage sections and content.
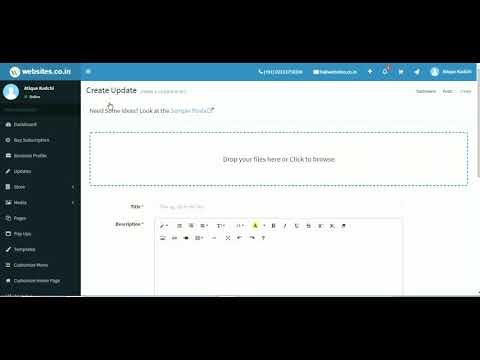
How to manage updates
Publish news and business updates.
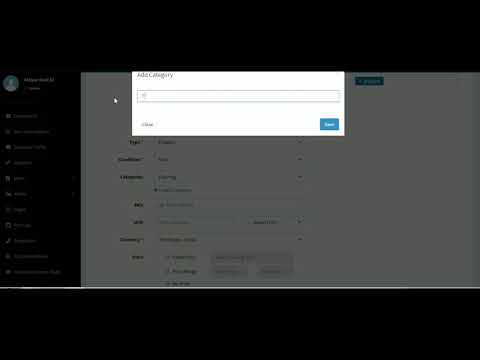
How to manage products
Add and edit products in your catalog.
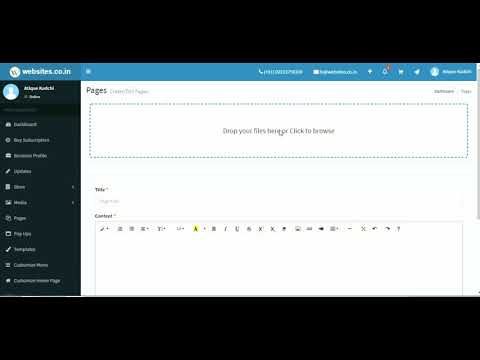
How to create custom pages
Build About, Services, and more.
View business enquiries
See and reply to customer leads.
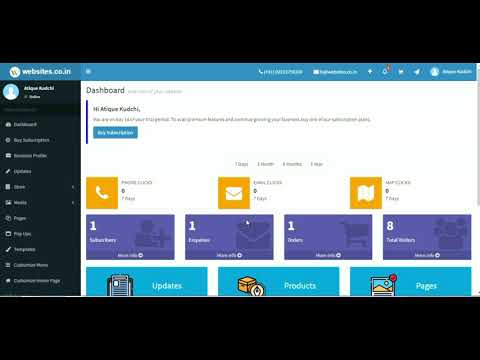
View customer orders
Track orders placed on your store.
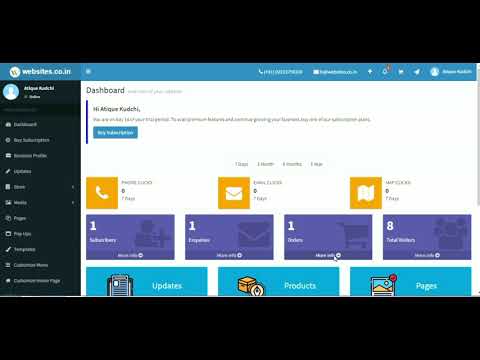
View website subscribers
Manage people who follow your site.
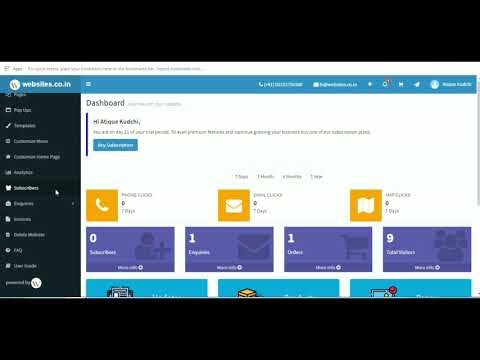
How to view alerts
Stay on top of account notifications.
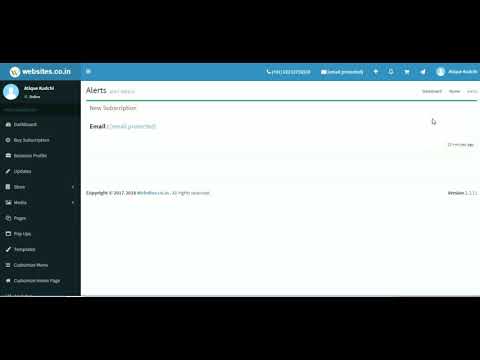
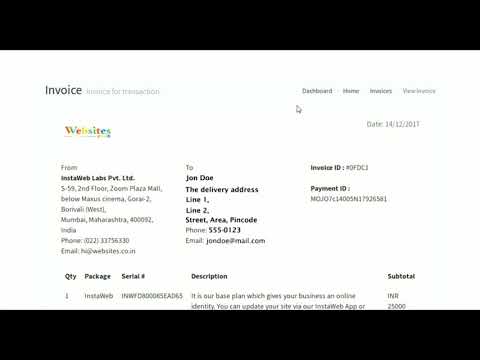
How to view invoices
Find and download your billing invoices.
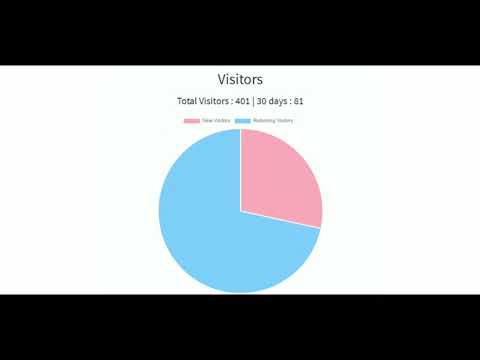
Stats and analytics explained
Understand visits, traffic, and growth.
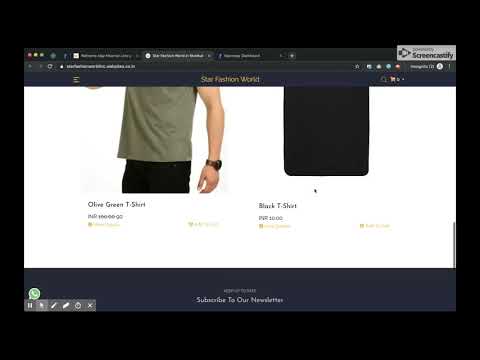
Set up ecommerce
Enable selling products on your website.
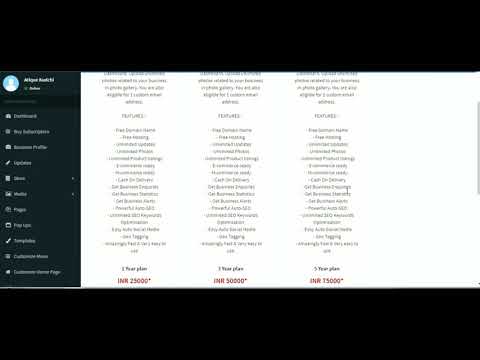
Buy a subscription & upgrade
Upgrade to a paid plan when you are ready.
Book a domain for your website
Register a custom domain on the platform.
Map an existing domain
Connect a domain you already own.
Create your business email
Set up a business email on Websites.co.in (paid plans).
How to delete your website
Remove a site from your account.
How to configure AI for content & image generation
-
You can connect your own AI providers (OpenAI, Azure OpenAI, Google Gemini, Perplexity) to generate text content and product/marketing images directly inside your Websites.co.in dashboard.
-
1. Open the AI Configuration page
- Log in to your Websites.co.in dashboard.
- From the left sidebar, go to AI & Automation » AI Configuration.
- You will see cards for each provider: Default, OpenAI, Azure OpenAI, Gemini, and Perplexity. -
2. Choose your AI provider
- Click on the provider card you want to use (for example OpenAI or Azure OpenAI).
- The form on the right will update to show only the fields needed for that provider. -
3. Configure OpenAI (text & images)
- Go to OpenAI Platform and create/copy your API key.
- Paste the key in the OpenAI API Key field and click Validate to confirm it works.
- Choose a Text Model (for example GPT‑4o or GPT‑4o Mini) for content generation.
- Choose an Image Model (DALL‑E 3 is recommended for high quality images).
- Click Save Configuration. The system will validate the API key first; if validation fails you can still choose to “Save anyway” (for example if OpenAI is rate‑limited but your key is correct). -
4. Configure Azure OpenAI (deployments for text & images)
Azure OpenAI Service allows you to use OpenAI models (like GPT-4 and DALL-E 3) through Microsoft Azure. Follow these detailed steps:
-
4.1. Create an Azure Account (if you don't have one)
- Go to Azure Free Account and sign up.
- You'll get $200 in free credits to start with.
- Complete the verification process. -
4.2. Create an Azure OpenAI Resource
- Log in to the Azure Portal.
- Click "Create a resource" (or use the search bar).
- Search for "Azure OpenAI" and select it.
- Click "Create" to start the setup process.
-
4.3. Configure Your Azure OpenAI Resource
Fill in the required information:
• Subscription: Select your Azure subscription.
• Resource Group: Create a new one or use existing.
• Region: Choose a region (e.g., East US, West Europe).
• Name: Give your resource a unique name (e.g.,my-openai-resource).
• Pricing Tier: Select a tier (S0 is recommended for most users).
- Click "Review + create", then "Create".
-
4.4. Get Your API Key and Endpoint
- Once your resource is created, go to the resource page.
- In the left sidebar, click "Keys and Endpoint" (under Resource Management).
- You'll see:
• Endpoint: Copy this URL (e.g.,https://your-resource.openai.azure.com/).
• Key 1 or Key 2: Copy either key (keep it secret!).
- Important: Save these credentials securely - you'll need them for configuration.
-
4.5. Deploy a Text Model (for Content Generation)
- In your Azure OpenAI resource, go to "Model deployments" (under Resource Management).
- Click "+ Create" to deploy a new model.
- Configure the deployment:
• Model: Select GPT-4o or GPT-4o Mini (recommended for cost-effectiveness).
• Deployment name: Give it a name (e.g.,gpt-4o-text).
• Advanced options: Leave defaults unless you have specific requirements.
- Click "Create" and wait for deployment (usually 1-5 minutes).
-
4.6. Deploy an Image Model (for Image Generation)
- Still in "Model deployments", click "+ Create" again.
- Configure the image deployment:
• Model: Select DALL-E 3 (this is the only image model available).
• Deployment name: Give it a name (e.g.,dalle-3-images).
• Note: DALL-E 3 requires API version2024-04-01-previewor later.
- Click "Create" and wait for deployment.
-
4.7. Verify Your Deployments
- In "Model deployments", you should see both deployments listed.
- Make sure both show status "Succeeded" (green checkmark).
- Note down the exact deployment names - you'll need them for configuration.
-
4.8. Configure Azure OpenAI in Websites.co.in
- Go to your Websites.co.in dashboard » AI & Automation » AI Configuration.
- Click on the Azure OpenAI card.
- Fill in the configuration form:
• Azure OpenAI API Key: Paste the key you copied from step 4.4.
• Endpoint URL: Paste the endpoint URL (e.g.,https://your-resource.openai.azure.com/).
• Deployment Name: Enter the text model deployment name (e.g.,gpt-4o-text).
• Image Deployment Name: Enter the image model deployment name (e.g.,dalle-3-images).
• API Version: Enter2024-04-01-preview(required for DALL-E 3).
- Click "Validate Configuration" to test your connection.
- If validation succeeds, click "Save Configuration". If it fails but your credentials are correct, you can choose "Save Anyway".
-
4.9. Important Notes & Troubleshooting
Common Issues:
• "DeploymentNotFound" error: Make sure your deployment names match exactly (case-sensitive). Wait a few minutes after creating deployments before using them.
• "InvalidApiKey" error: Double-check your API key - make sure there are no extra spaces when copying.
• "RateLimitExceeded" error: Azure has rate limits based on your pricing tier. Wait a moment and try again.
• Image generation not working: Ensure you've deployed DALL-E 3 and used API version2024-04-01-previewor later.
Best Practices:
• Use GPT-4o Mini for text generation if you want to save costs (it's faster and cheaper than GPT-4o).
• Keep your API keys secure - never share them publicly.
• Monitor your Azure usage in the Azure Portal to avoid unexpected charges. -
5. Configure Google Gemini (text + Gemini image)
- Get an API key from Google AI Studio.
- Select Gemini as the provider, paste your Gemini API Key and click Validate.
- Choose a Text Model (for example Gemini 1.5 Pro or Gemini 1.5 Flash) for content generation.
- For image generation, Websites.co.in automatically uses the officialgemini‑2.5‑flash‑imagemodel – you don’t need to configure a separate image model.
- Click Save Configuration to start using Gemini for both content and images. -
6. Configure Perplexity (text only)
- Get an API key from Perplexity Settings.
- Select Perplexity, paste your API key, click Validate, then choose a Sonar model (for example llama‑3.1‑sonar‑small‑128k‑online).
- Perplexity is used only for text; image generation will automatically fall back to the default or another configured image‑capable provider. -
7. Use AI in Content & Image screens
- After saving your configuration, open any AI editor (for example, Products » Generate Content or Image).
- At the top of the AI panel you will see the Current Provider badge (for example “OpenAI (gpt‑4o)” or “Gemini (gemini‑1.5‑pro)” and for images “OpenAI (dall‑e‑3)”, “Azure OpenAI (dall‑e‑3 (your‑deployment))”, or “Gemini (gemini‑2.5‑flash‑image)”).
- When you click Generate Content or Generate Image, Websites.co.in sends your prompt to the selected provider and shows any provider‑specific error messages (invalid key, missing deployment, rate limits) directly in a popup so you can fix issues quickly.
Add Tawk.to live chat
-
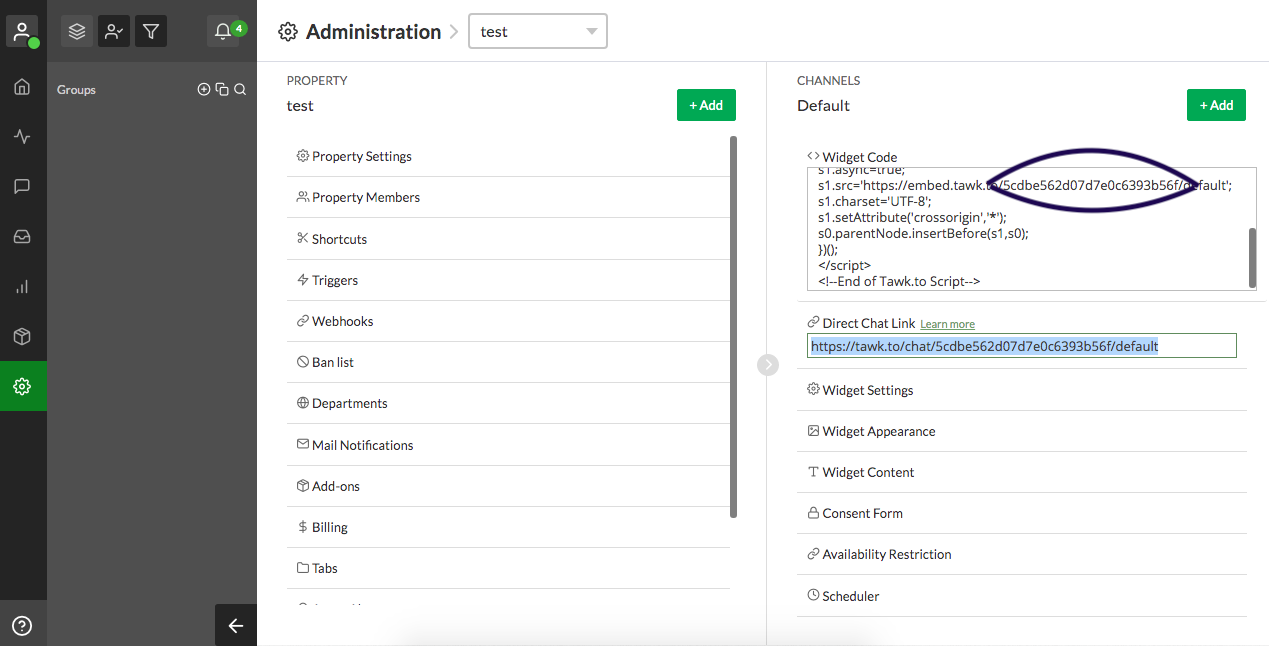
You can add the Tawk.to widget to your website by simply adding the tawk id.
Follow These Steps:
-
1. Sign Up (If you don’t already have a Tawk.to account)
-
2. Log in to the dashboard: https://dashboard.tawk.to
-
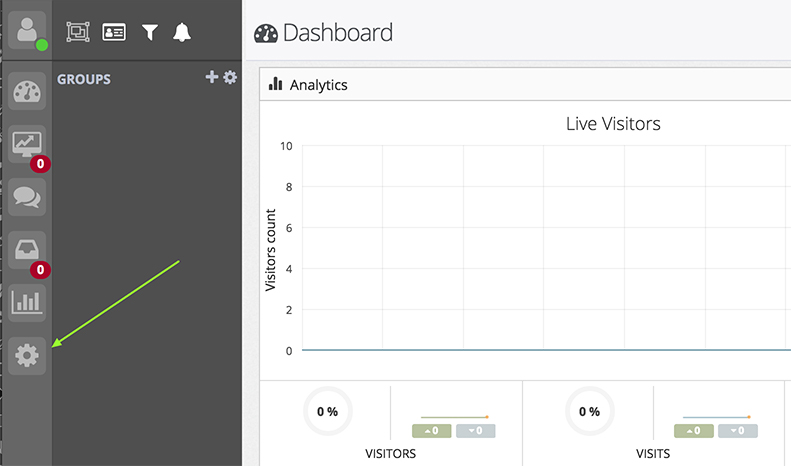
3. Click “Admin”
-
-
4. Copy the tawk id and paste to tawk integration field.
-
Connect Google Analytics
-
The first step you’ll need to do is find your tracking ID, which is a unique ID created for your Google Analytics account.
-
To get your tracking ID, follow these steps:
-
1. Log in to your Google Analytics account
-
2. On the bottom left-hand side of the page, click Admin
-
3. From the left column titled Account, select an account from the dropdown menu
-
4. From the middle column titled Property, select a property from the dropdown menu
-
5. Under the Property column, click Tracking Info > Tracking Code
-

-
6. Your Google Analytics ID is displayed at the top of the page. (The tracking ID is a string like UA-000000-2. It must be included in your tracking code to tell Analytics which account and property to send data to view more details)
-

-
7. Once you’ve identified your tracking ID, you’ll need to copy Id and paste it in the Google Analytics Field.
Connect Google Tag Manager
-


- Watch On YouTube
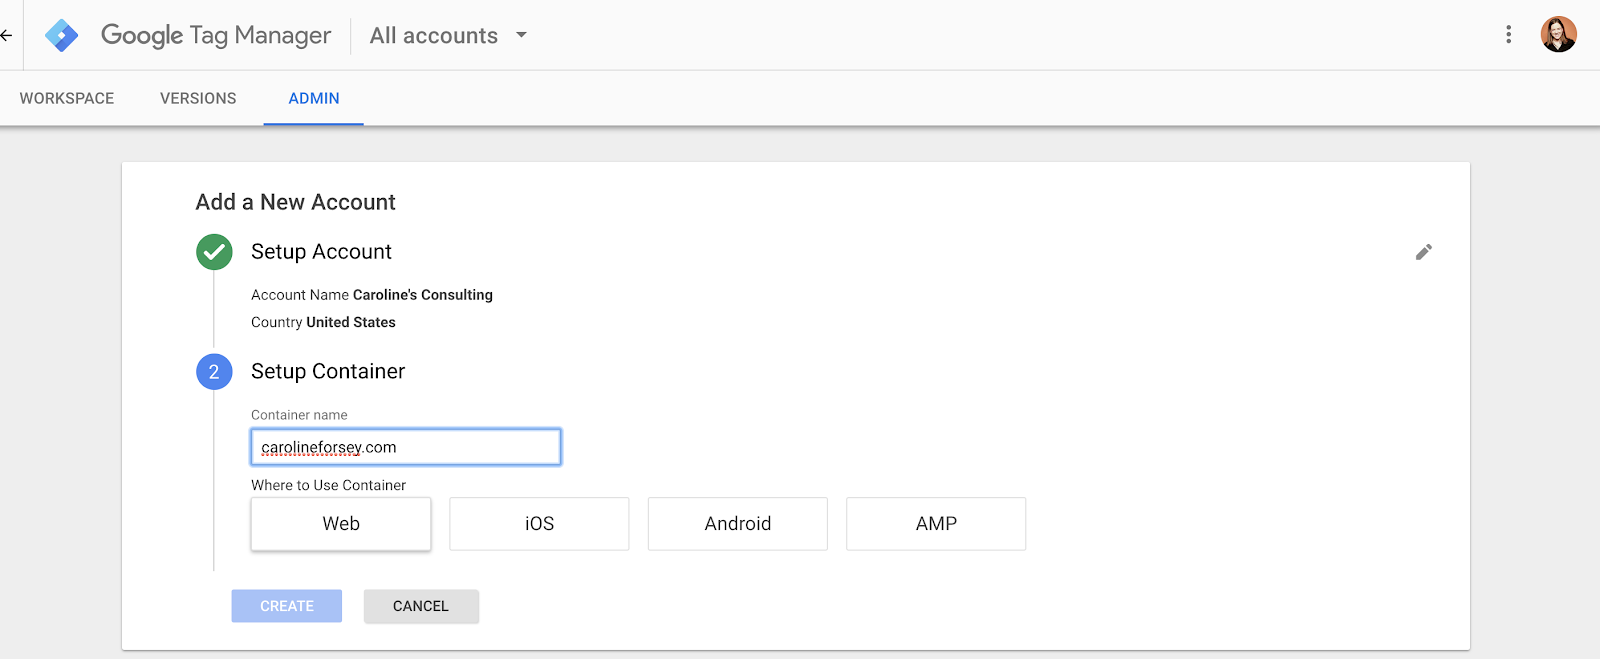
- 1. Go to Tag Manager and click the green “Sign Up for Free” button.
- 2. It will ask you to input your account name (company), country, and website URL, as well as where you want to use Google Tag (web, iOS, android, AMP). When you’re finished, click the blue “Create” button.
-
-
3. In Tag Manager, click Workspace.
-
4. Near the top of the window, find your container ID, formatted as "GTM-XXXXXX".
-

-
5. Once you’ve identified your container ID, you’ll need to copy Id and paste it in the Google Tag Manager Field.
Connect Facebook Pixel
-
1. Go to your Pixel tab in Events Manager.
-
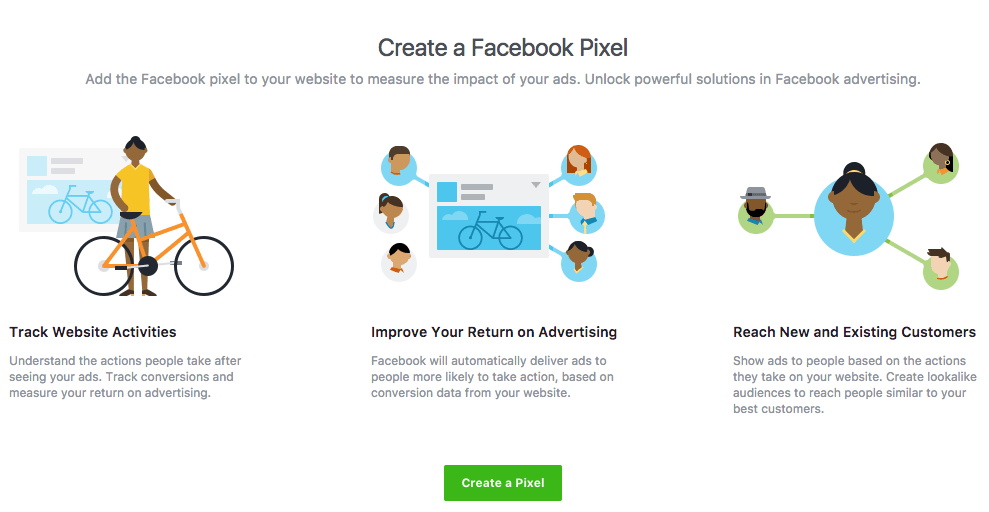
2. If you don’t have a pixel yet, you’ll see the following window:
-
-
3. To finish creating your pixel, click Create in the box that appears.
-
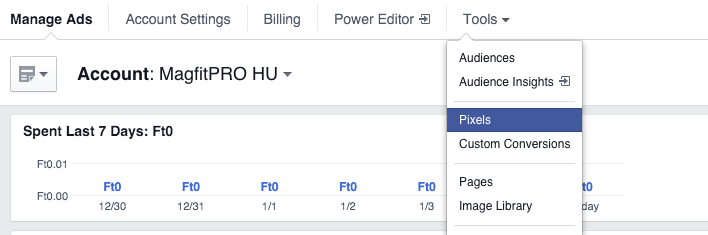
4. Once you've created your pixel, Click on Tools > Pixel
-
-
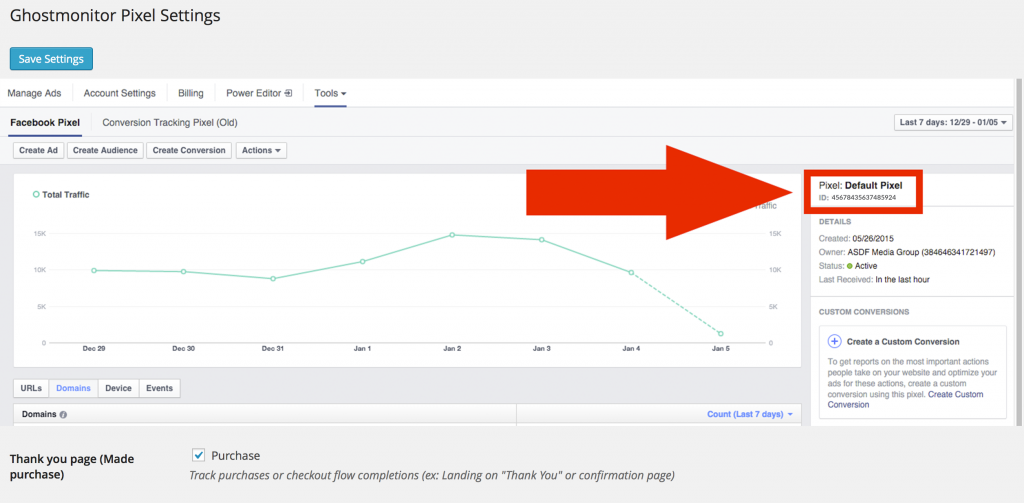
5. You will find the basic analytics of your pixel. The ID is at the right top.
-
-
5. You’ll need to copy Id and paste it in the Facebook Pixel Field.
Connect Google Adsense
-
1. Sign In to your Google Adsense account or Signup if you don't have a adsense account.
-
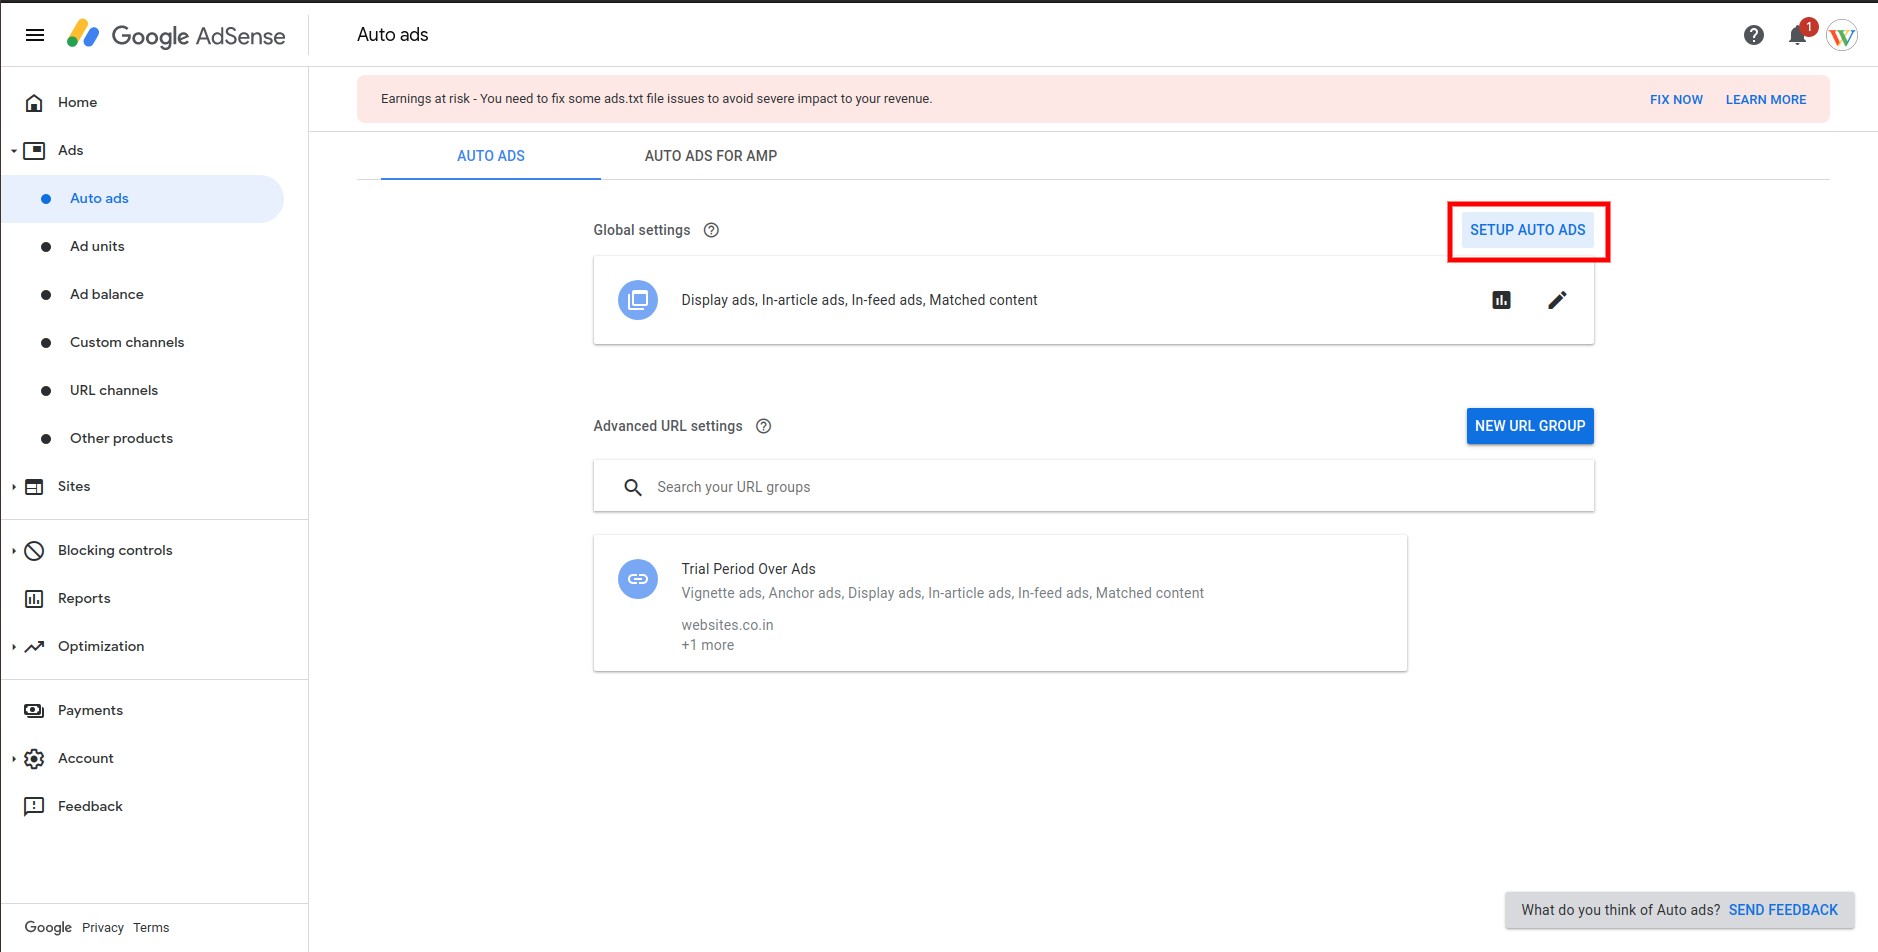
2. Inside Google Adsense Dashboard go to Ads, Click on Auto Ads.
-
3. Click on SETUP AUTO ADS.
-
-
4. Copy the Google Ad Client ID as shown below:
-

-
Now use the ID on our platform to activate google adsense integration.
Set up Facebook Messenger
-
1. Sign In to your Facebook Page account.
-
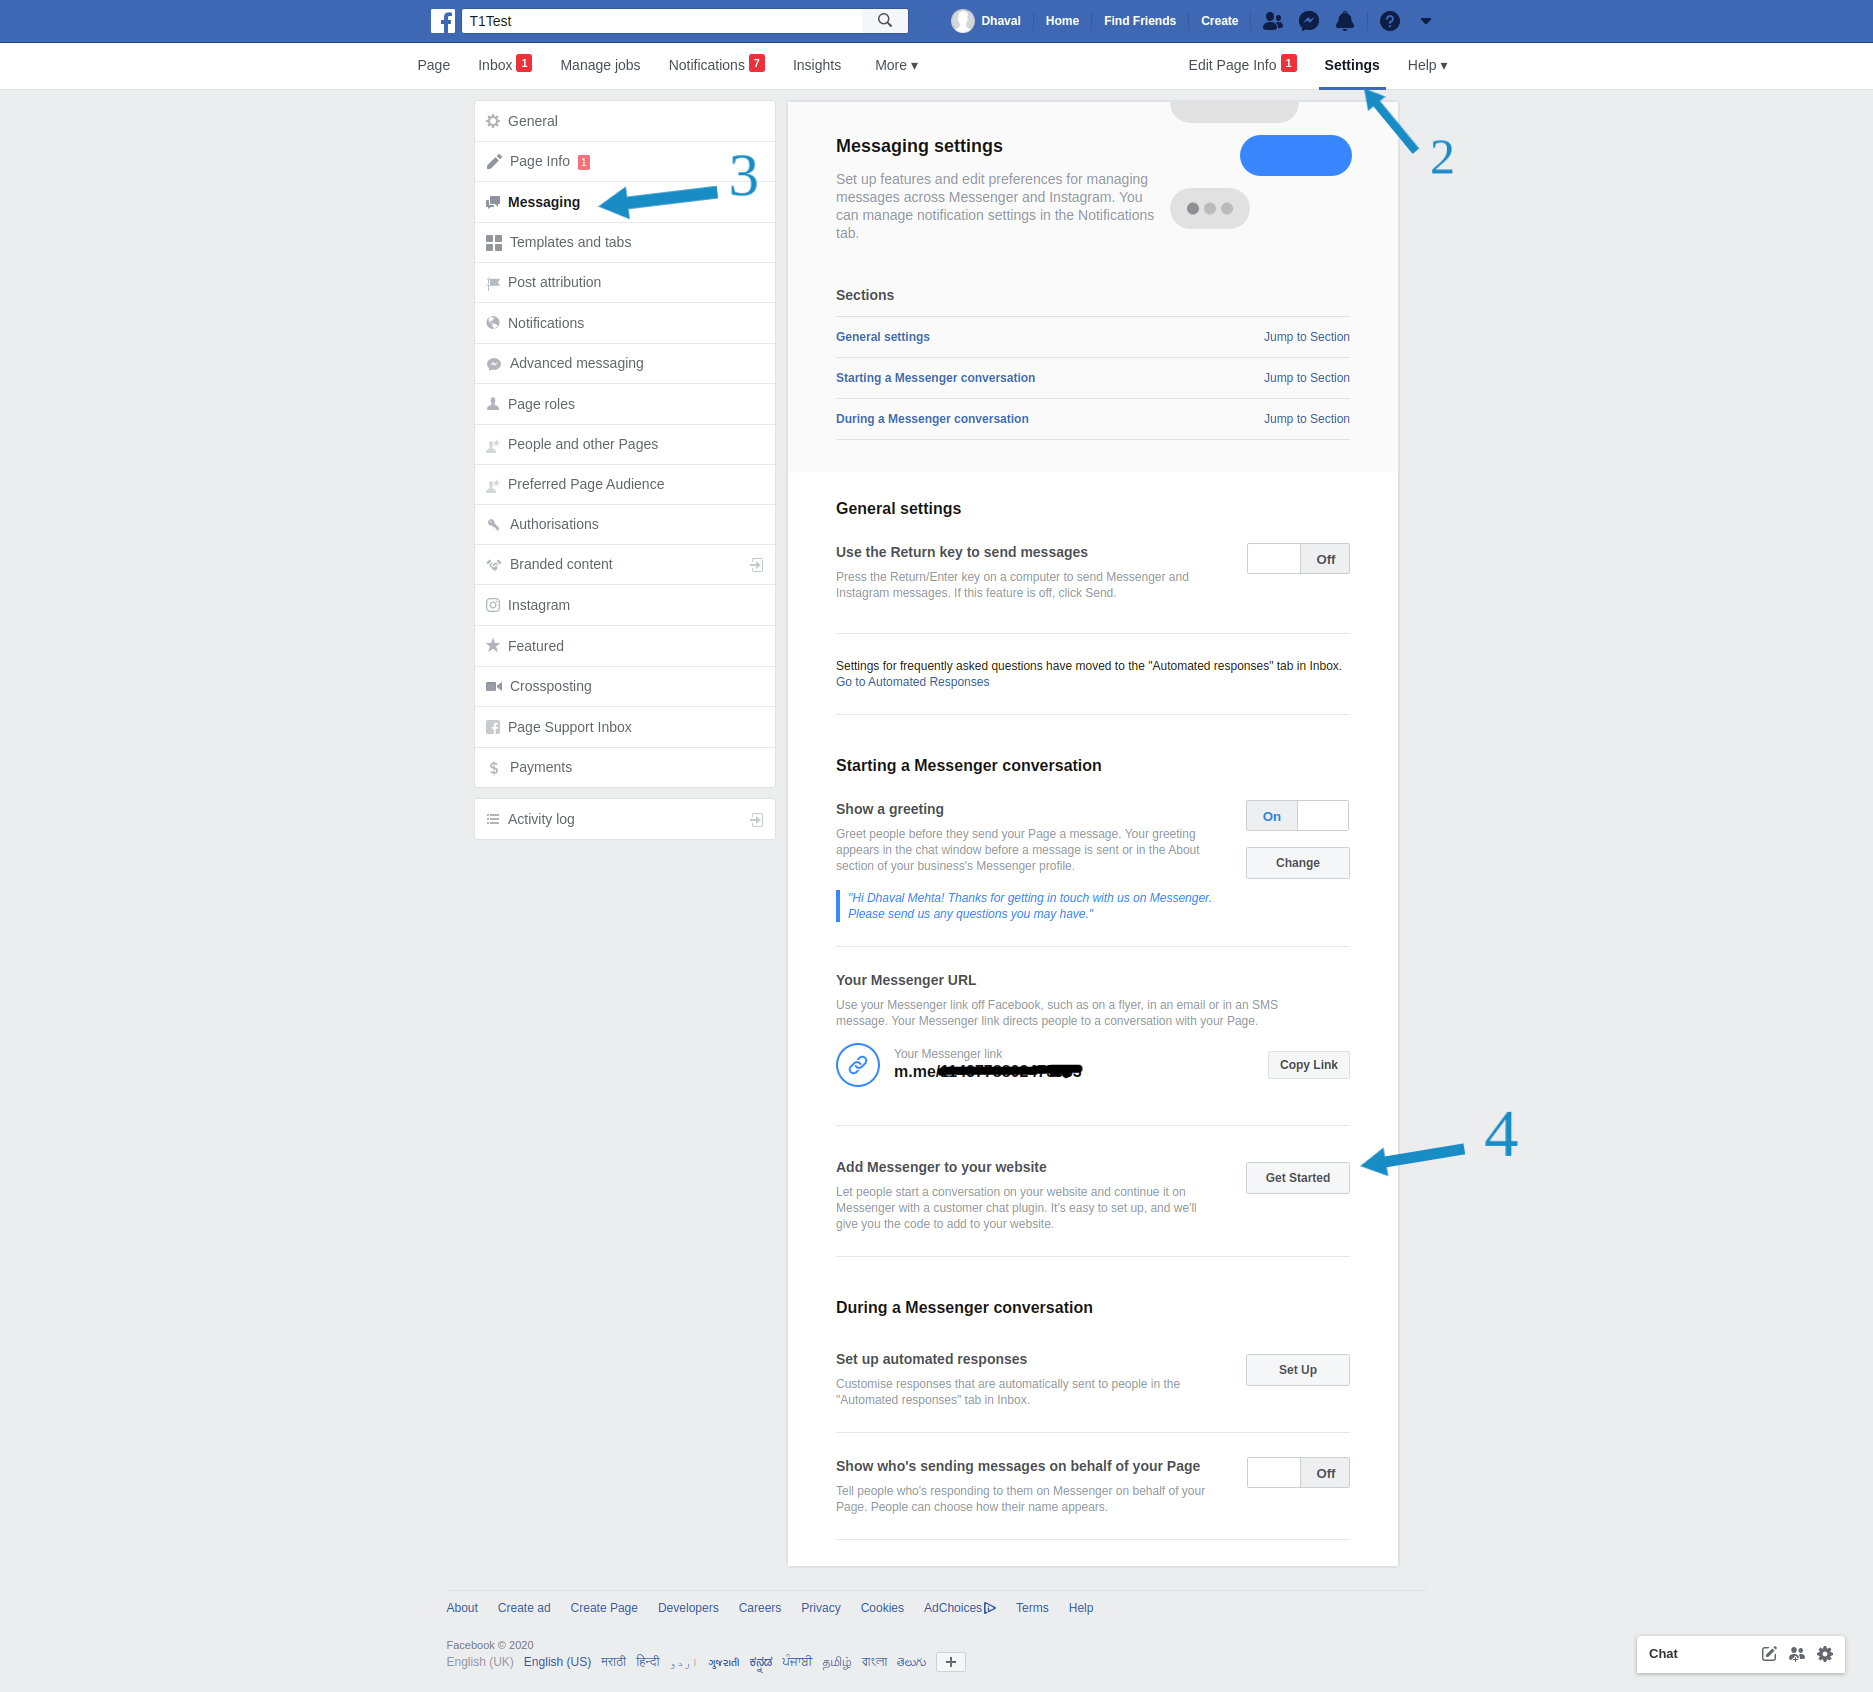
2. After login go to your page and click on settings.
-
3. In settings, click on messaging option to view Messaging settings.
-
4. now scroll down to Add Messenger to your website section and click on Get Started button.
-
-
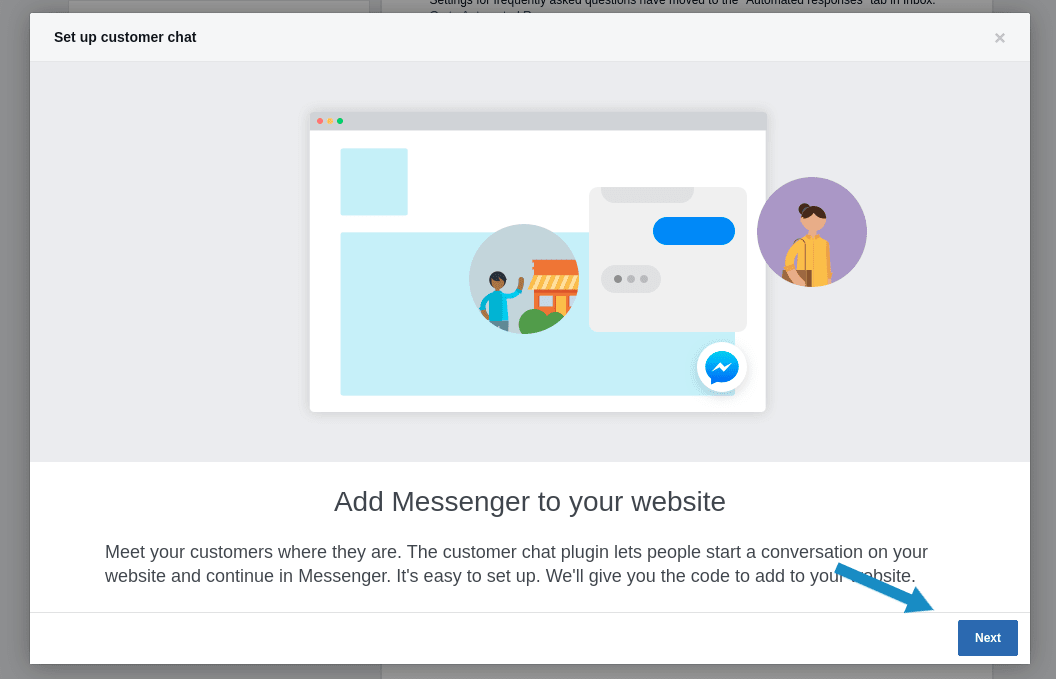
5. After clicking on get started, Set up customer chat window will open. Here click on Next button.
-
-
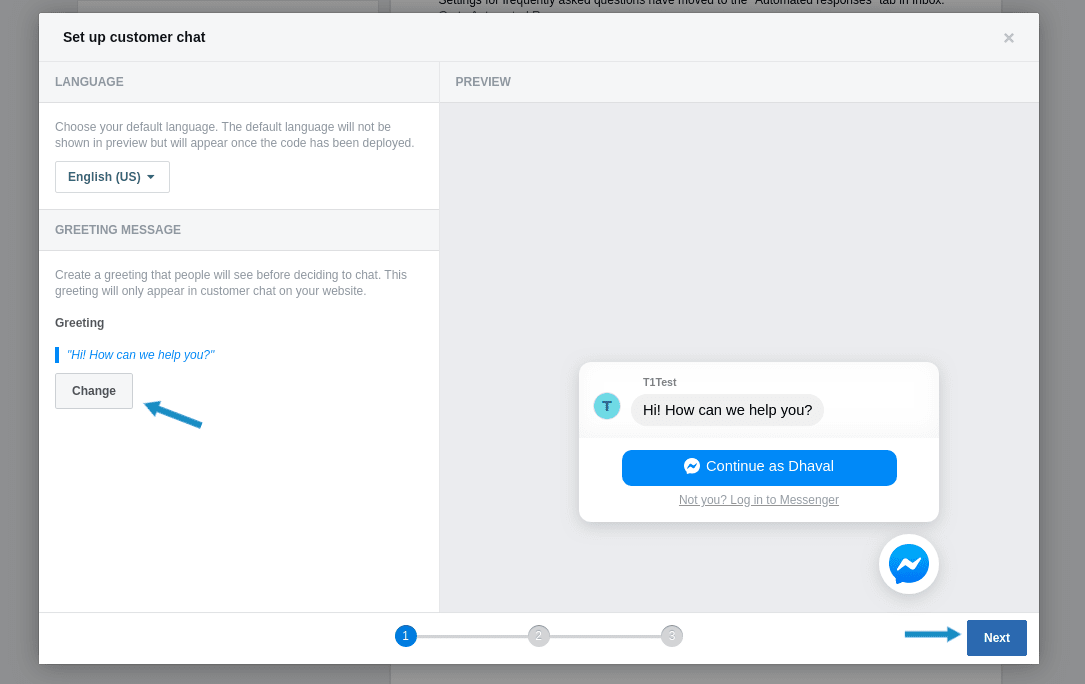
6. In step 1, you can customize GREETING MESSAGE.
- To customize greeting click on change button. After typing your message, save and click on Next button. -
-
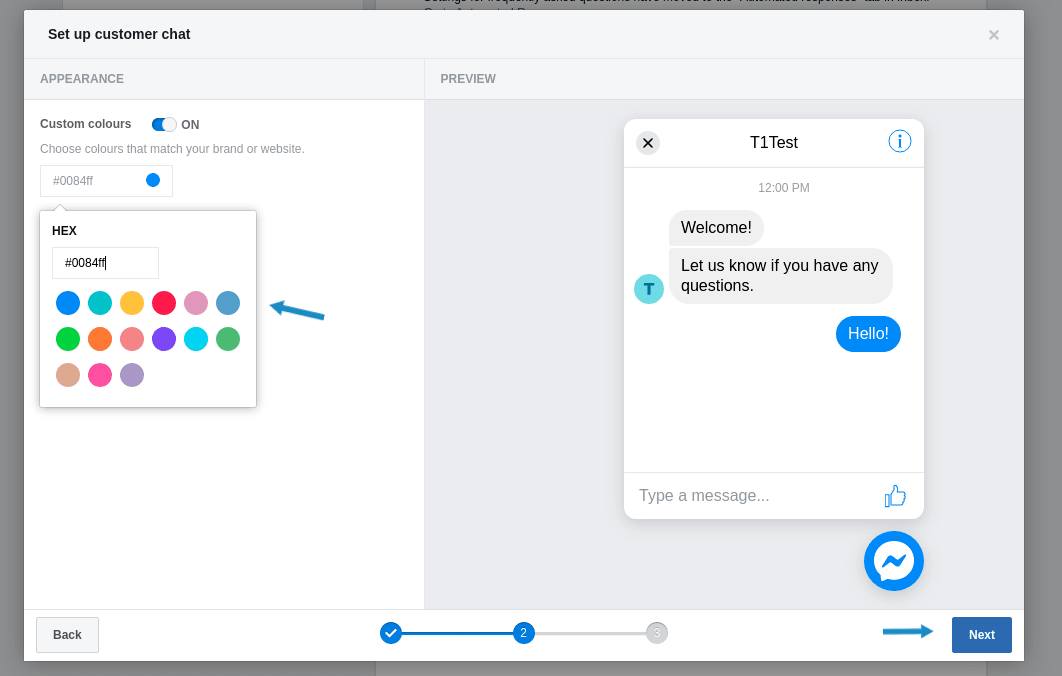
7. In step 2, you can customize APPEARANCE(colour of messenger).
- To customize appearance, simply select colour from color picker and click on Next. -
-
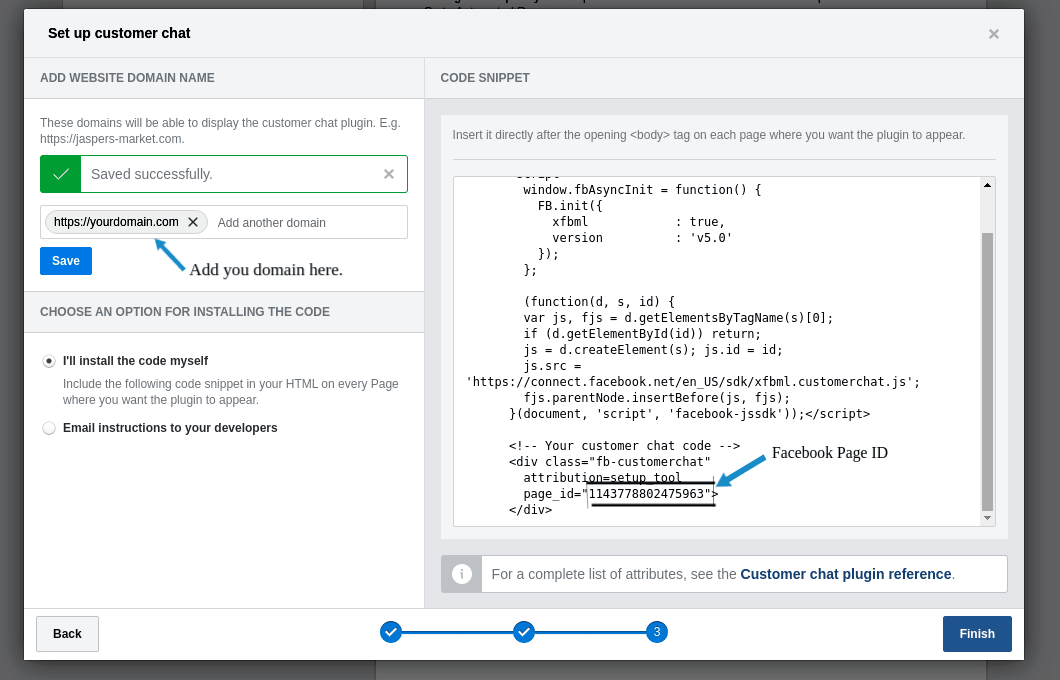
8. In step 3, you have to add your website domain in ADD WEBSITE DOMAIN NAME section.
- Add domiain and click on Save button.
- After Saving your domain, on right side CODE SNIPPET tab, note down page id as shown in below picture -
-
OR
- Other way to get page id is from your facebook page About section as shown below picture. -

-
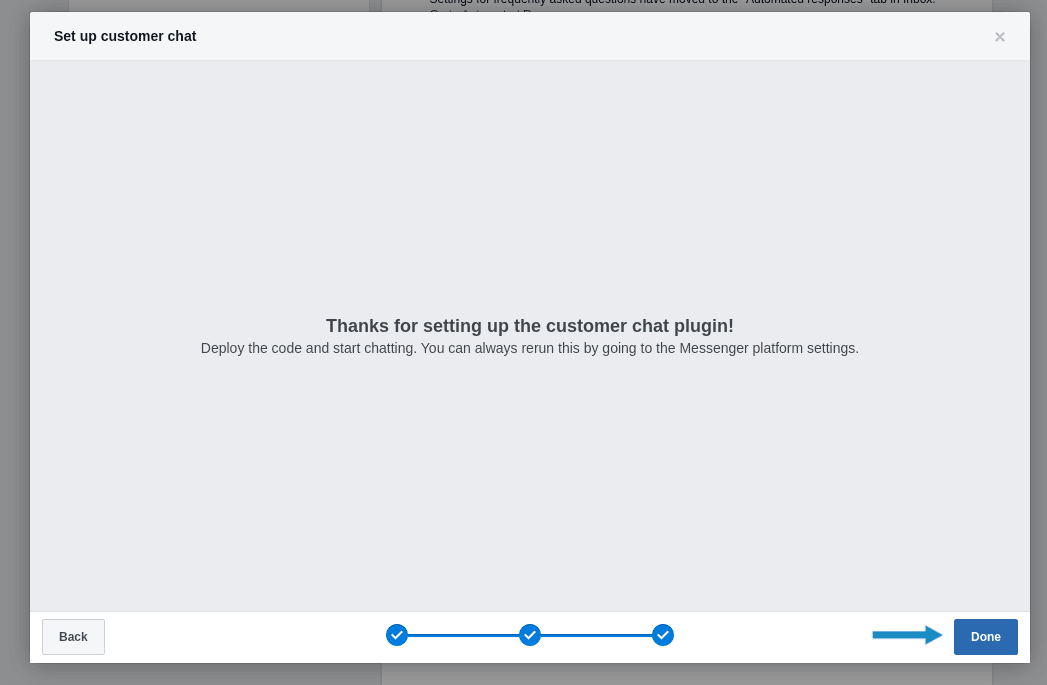
9. Now, Click on Finish button and Success message wiil appear. click Done
-
Connect Hotjar heatmaps
-
1. Sign In to your Hotjar account or Signup if you don't have a Hotjar account.
-
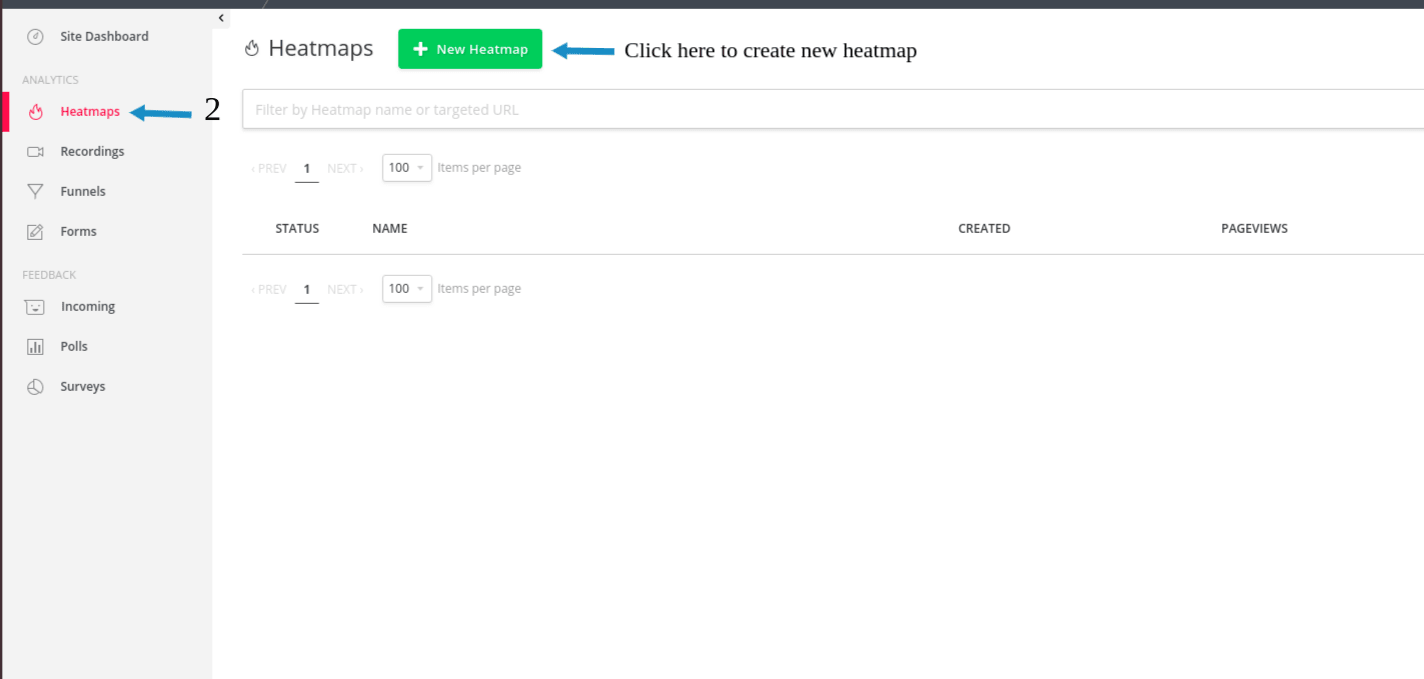
2. click on Heatmap in sidebar, as shown below.
-
3. in Heatmap, click on New Heatmap button to create heatmap for your website.
-
-
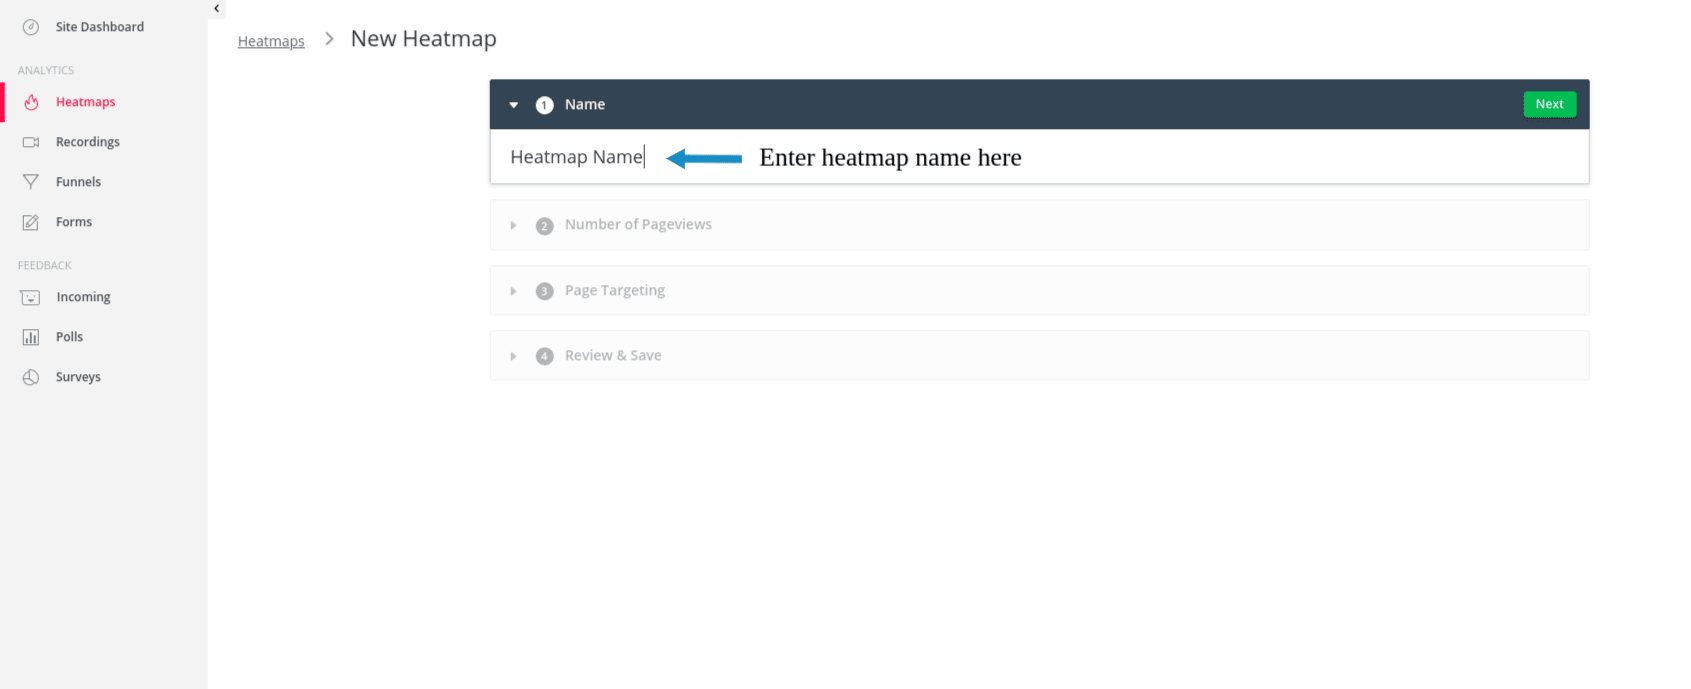
4. In step 1 (Name Section), Enter Name for your heatmap and click Next button
-
-
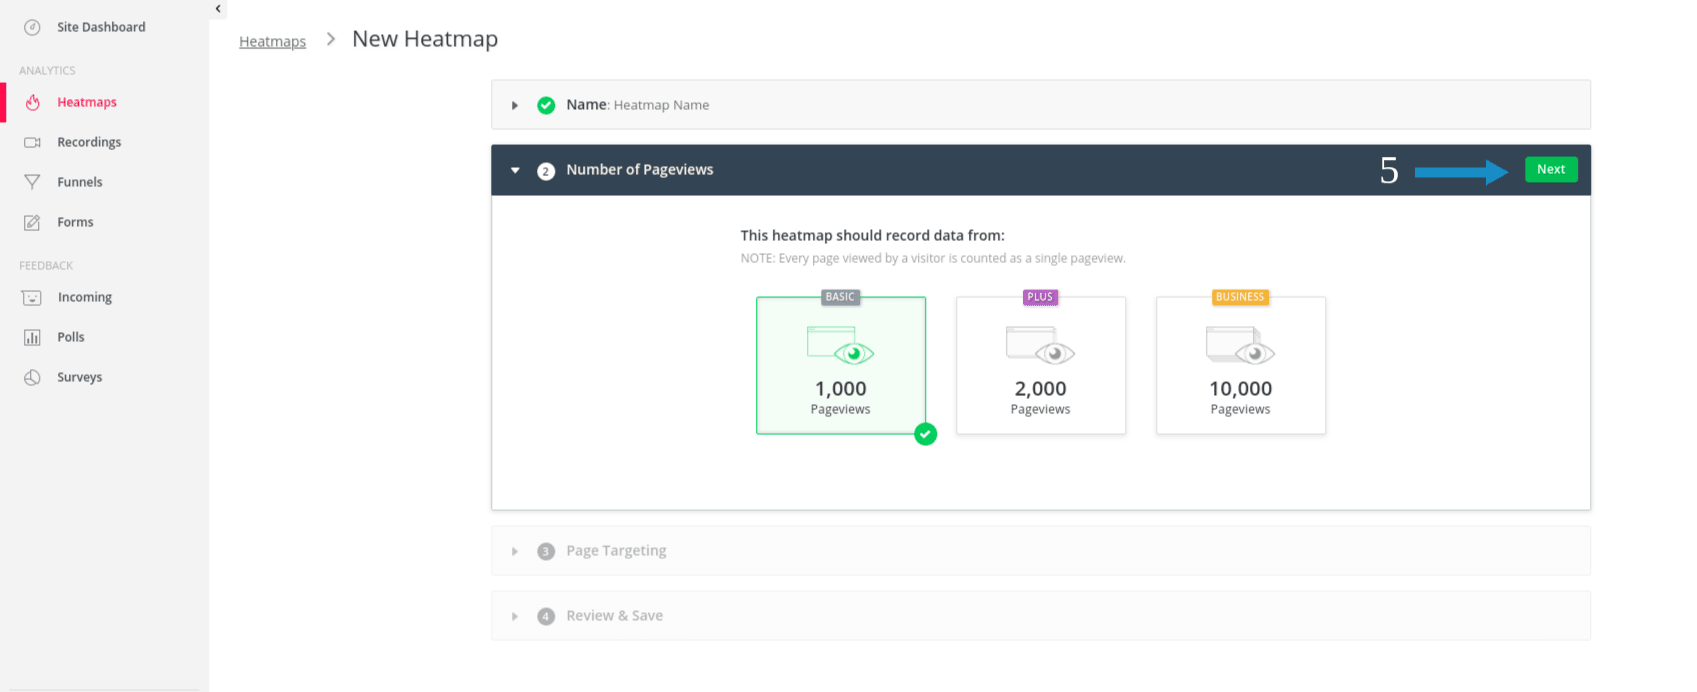
5. In step 2 (Number of Pageviews section), click Next button
-
-
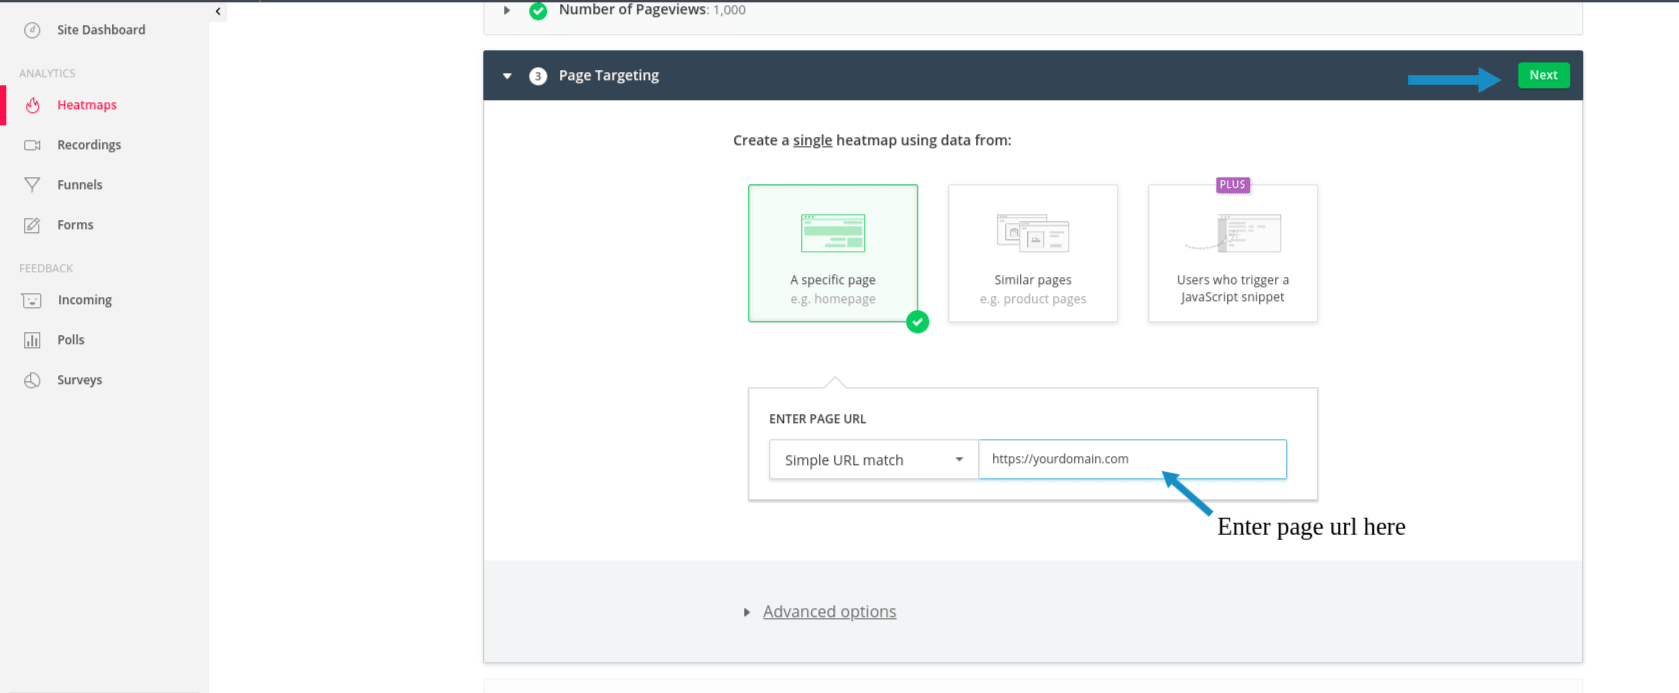
6. In step 3 (Page Targeting),
- Enter you page url(example: https://domainname.com) in ENTER PAGE URL field.
- Click on Next button -
-
7. In step 4 (Review & Save), click on Create Heatmap button.
-
